Your Ultimate Guide to Photography Backpacks for Outdoor Expeditions
Selected theme: Photography Backpacks for Outdoor Expeditions. Discover how to choose, pack, and trust a backpack built for rugged trails, shifting weather, and unforgettable shots. Join the conversation, subscribe for trail-tested tips, and share your favorite pack stories.
The Essentials: What Defines a Trail-Ready Photo Pack
Comfort First: Harness, Hip Belt, and Load Transfer
Comfort begins with a harness sized to your torso length and a supportive hip belt that transfers sixty to eighty percent of weight off your shoulders. Look for dense foam, breathable back panels, and stable load lifters that reduce sway on uneven ground.
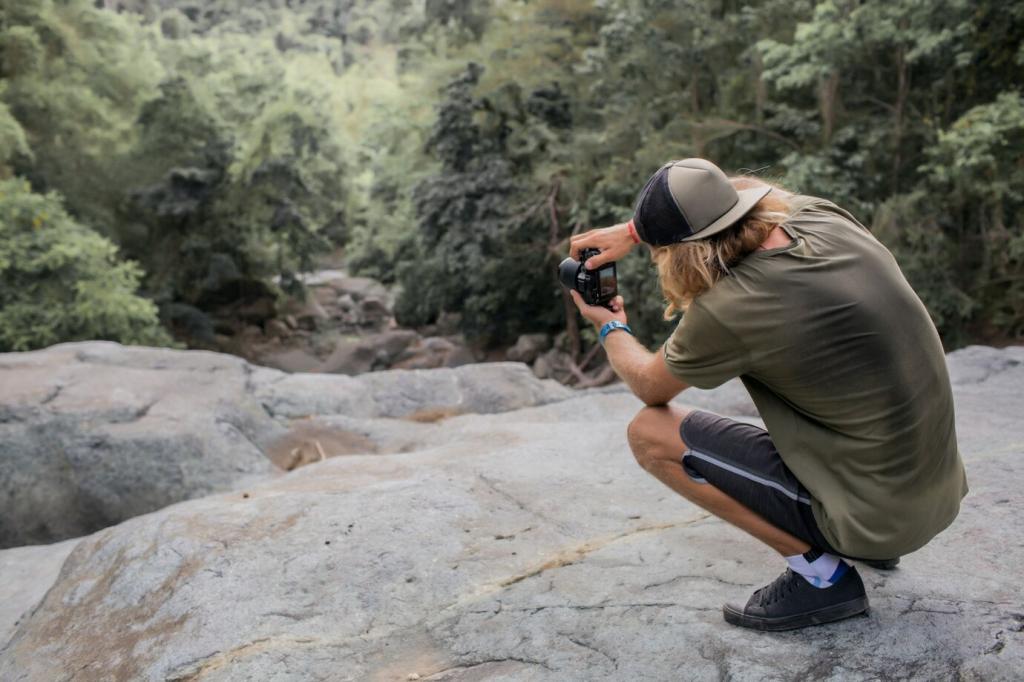
For quick missions, a compact photography backpack carries a camera, two lenses, filters, a light shell, and a 1.5-liter hydration bladder. Prioritize fast side access, slim profiles that don’t snag brush, and compression straps to stabilize your load during scrambling.
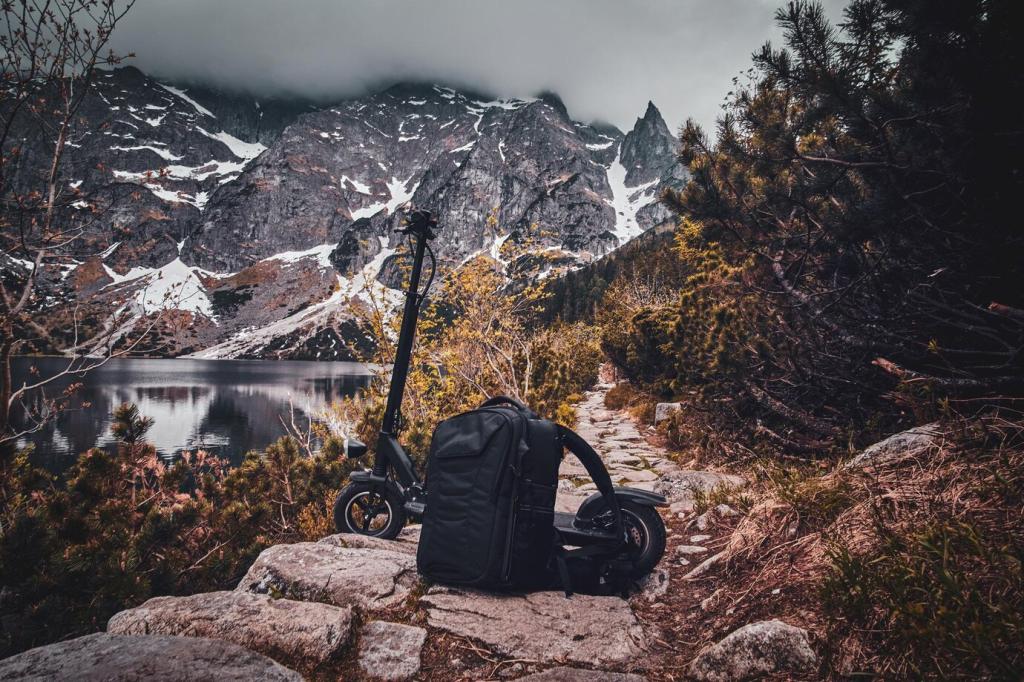
Overnighters: 30–45 Liters with Camera Cube
One- to two-night trips benefit from a modular camera cube inside a trekking-style pack. Room remains for a quilt, compact stove, and food. Ensure the hip belt fits snugly, and test your walking posture with the tripod attached before committing to mileage.
Multi-Day Missions: 50+ Liters, Modular Strategy
Longer expeditions favor a 50–65 liter platform using removable dividers and a protected cube. Stash heavier glass near your spine, and keep soft items around the cube for impact buffering. Confirm the pack’s frame handles total weight without barreling into your back.
Packing Strategy: Balance, Protection, and Speed
Place your heaviest items—camera cube, telephoto lens, water—high and close to your spine to reduce leverage and sway. Fill exterior zones with lighter layers. Tighten compression straps to prevent shifting that can throw off balance during talus hopping or ridge traverses.
A centerline mount behind the back panel keeps weight symmetrical, ideal for rocky trails. Side mounts are faster, but counterbalance with water on the opposite side. Secure all straps to eliminate clatter and protect carbon legs from abrasion on long scrambles.
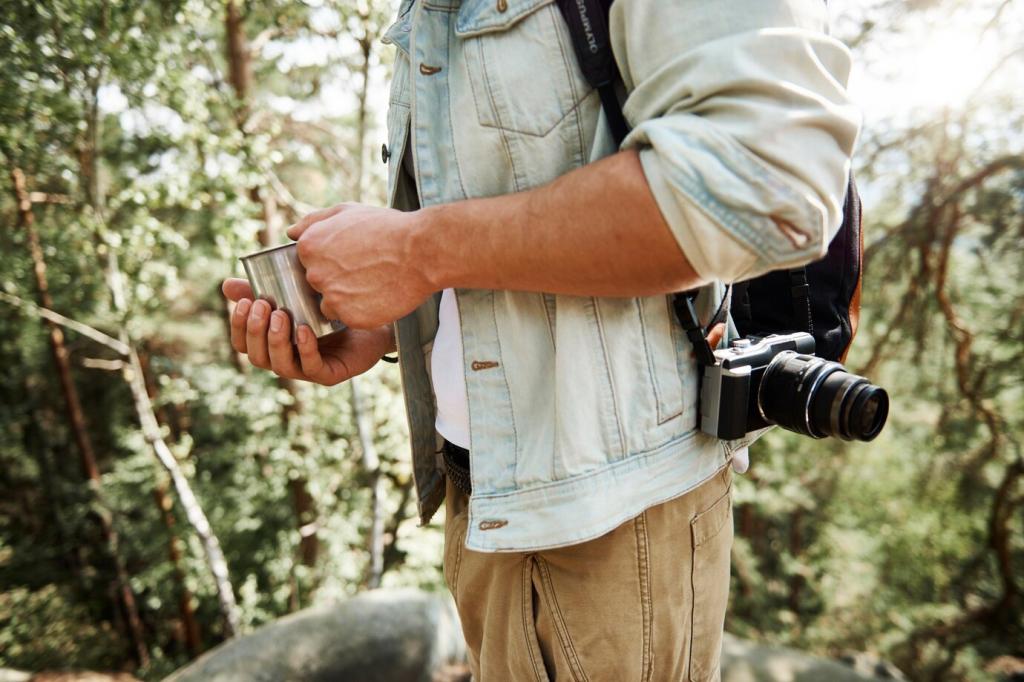
Carry the Extras: Tripods, Drones, and Mounts
Store drones in crush-protective pods and keep lithium batteries in fire-resistant sleeves within a ventilated pocket. Check airline and park rules, label battery watt-hours, and separate controllers so you can clear security or rangers’ checks without digging through lenses.
Field Stories: When Design Choices Matter
A sudden squall hammered our camp, but the roll-top closure and sealed liner kept cameras bone-dry. We shot rain-streaked peaks minutes later. Since then, I always carry a fitted rain cover and trust a double barrier when storms build fast.
Fine red dust infiltrated everything except the camera bay with gasketed zippers. A quick-brush routine at the car and zip pulls cleaned with water saved the teeth. Now I pack a tiny brush and spare pulls in my repair kit.
On a steep predawn climb, the pack’s ventilated back panel and rigid frame prevented hot spots and barrel roll. Stable load transfer meant fewer rest stops, so we reached sunrise on time and nailed the alpine glow across the glacier.
Safety, Sustainability, and Maintenance
Carry tenacious tape, a curved needle, heavy thread, and a couple meters of cord. You can fix torn straps, reattach zipper pulls, or lash a tripod after a buckle breaks. Quick, simple repairs prevent small failures from derailing a hard-earned summit push.